- Entire OnHire Knowledge Base
- Growth Modules
- Client Compliances
Adding Compliances to Service/Delivery Locations
- Accessing Client Compliances
- Adding a Compliance
- Step 1: Create Document Reasoning
- Step 2: Add Client Compliance
Accessing Client Compliances
There are two ways to access Client Compliance
-
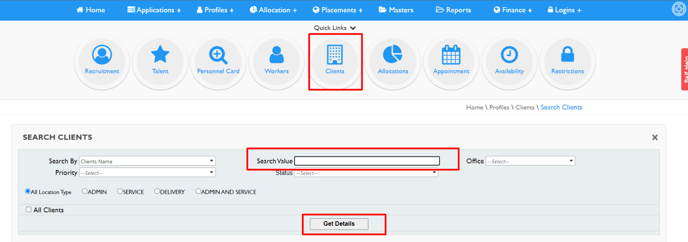
Clients - Search for Client - Select Compliance

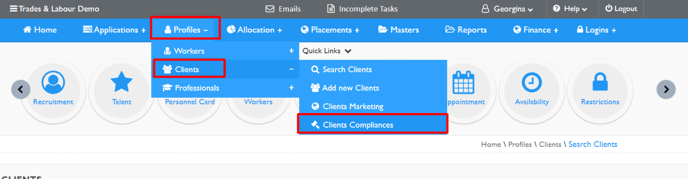
- Profiles - Clients - Clients Compliance
Adding a Compliance
Step 1: Create Document Reasoning
-
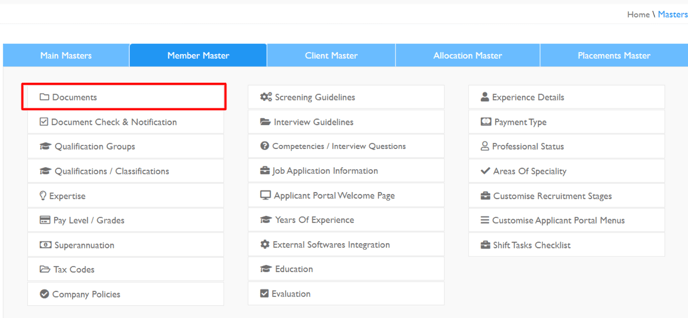
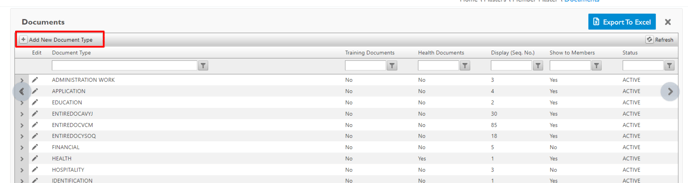
Masters - Member Masters - Documents
-
Create a new document Type labelled “Compliance” If you haven’t already.

-
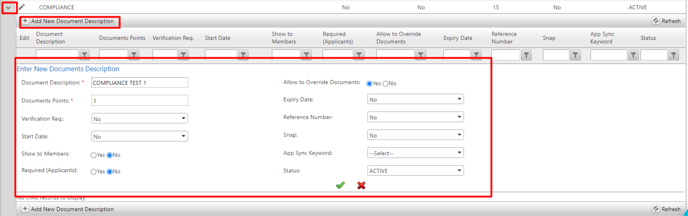
Now Add the Documents - Label what your Compliance will be called.
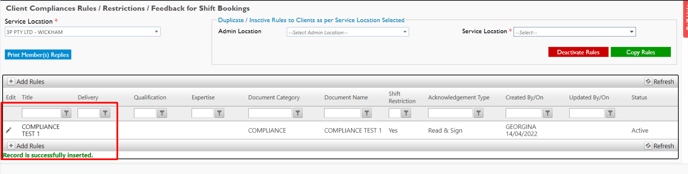
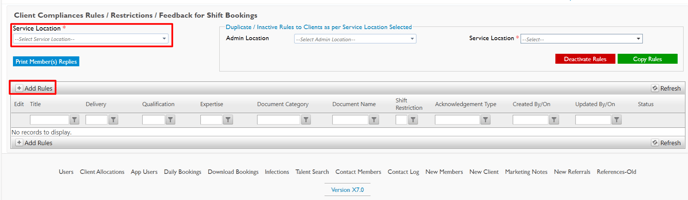
1. Select your Service Location and then click Add Rule
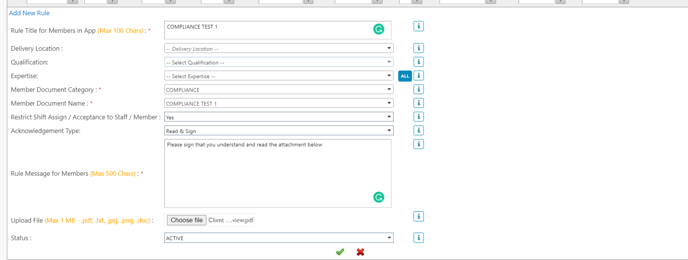
2. Complete and fill in all mandatory sections* as well as additional ones
- Rule Title for Members in App (Max 100 Chars) *: Enter the Rule Title which will show in Member App
- Delivery Location: Please Select if you want it to apply to a specific DL, or leave blank if you want the rule to apply to all shifts
- Qualification: Please Select if you want it to apply to a specific qualification, or Leave Blank if you want rule to apply to all qualification
- Member Document Category *: Either Select Compliance or if you are doing a document check select that
- Member Document Name *: Either Select Compliance Rule or if you are doing a document check select that name
- Restrict Shift Assign / Acceptance to Staff / Member: Yes or No
- Acknowledgement Type: Read and Accept, Read and Send Information or Read and Sign - If you leave blank this will be classed as information only
For information on Levels please refer to Levels of Compliance
- Rule Message for Members (Max 500 Chars) *: Please enter the message you would like staff to read
- Upload File (Max 1 MB - .pdf, .txt, .jpg, .png, .doc) : Upload a rile if required
- Status : Active or Inactive
3. Click the Green Tick to Save.