
To add a new client to the system please follow the below steps.
-
Carry out a client search to ensure a profile hasn't already been created.
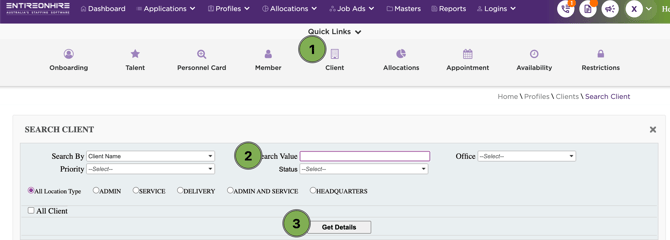
If it has please visit the following article to carry out the next steps: How to search and edit a Locations profile
After confirming that there is no existing profile for the client already created please continue following the below steps.
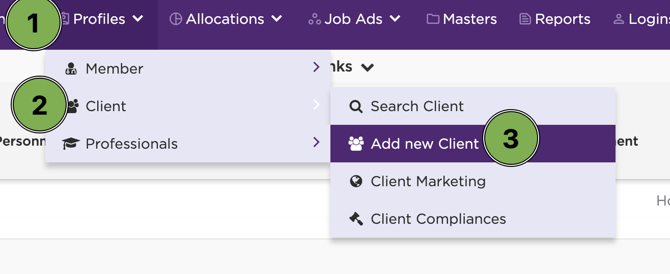
2. Hover over Profiles > Clients > and select Add New Client
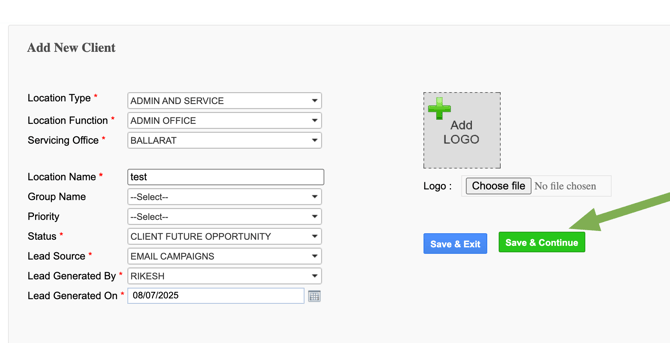
3. Enter data in all Mandatory fields
(Mandatory fields are marked with an *)

Location Type
There are two options here and it depends on the size/structure of client for which type to choose. To put it simply;
Admin - If your client has multiple sites/locations under the one parent company.
Admin and Service - If your client is a single site/location
Location Function
Location Function is a field against a client profile used to record the core business activity undertaken at a location. To add a location function to your masters please visit: How to add/edit a location function
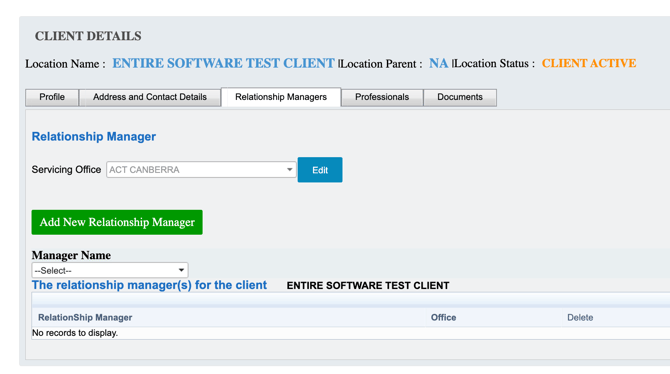
Servicing Office
Offices are used to group and match Members and Client to geographical areas.
Location Name
Enter the name of the client profile here.
Group Name
This is an optional field to allow you to group Locations together for reporting purposes.
Priority
This is a field to nominate a priority level to the client location. For further information please visit: Member and Client Priorities.
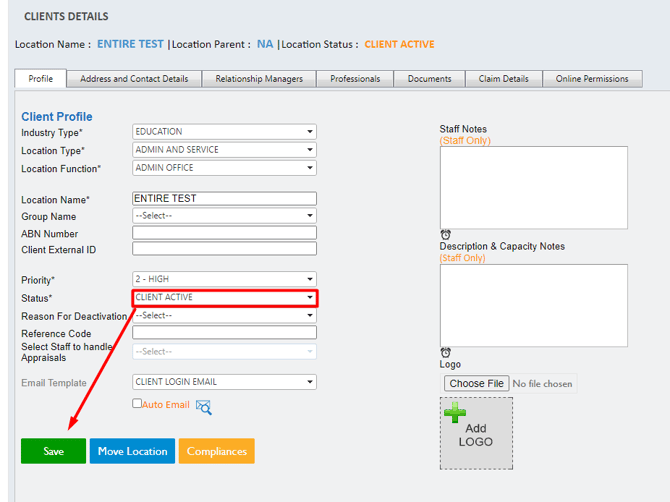
Status
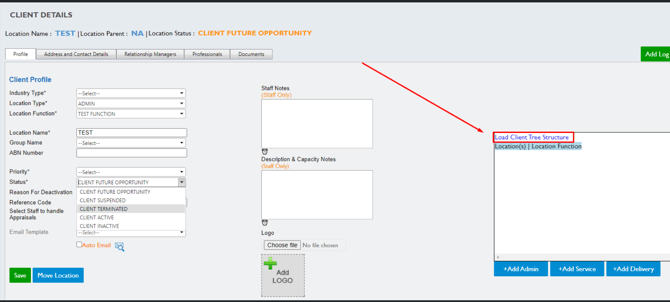
When first creating a client there is a 2 step process and status to select is always 'Client Future Opportunity' in this screen.
Lead Source, Generated By and On
Once Client Future Opportunity is select then lead source becomes mandatory.
Source - Configured in the masters, you can state where this lead came from
Generated By - Staff User who souced or entered the client
Generated On - Select the date the client was entered
You can choose to enter data in the optional fields also.
- Group Name
- Prioroity
- Upload Image of Client Logo if you want to
Select Save & Continue once you have completed the fields
The process will be slightly different depending on the client type you have chosen. Each option is outlined below.
New Admin and Service
-
Update the profile of all mandatory fields and optional fields
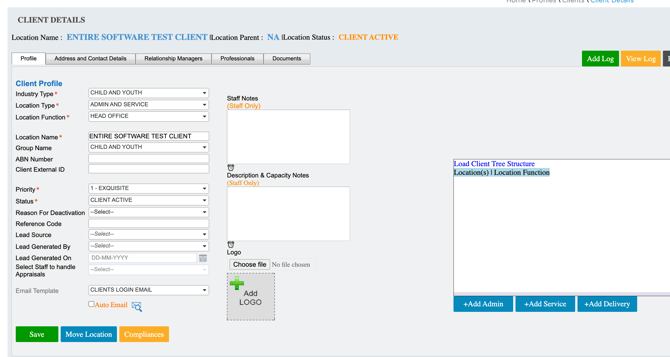
Please note it is highly important that the following fields are updated as per the service location.
-
Address and Contact Details - Especially Address, Email and Contact Number
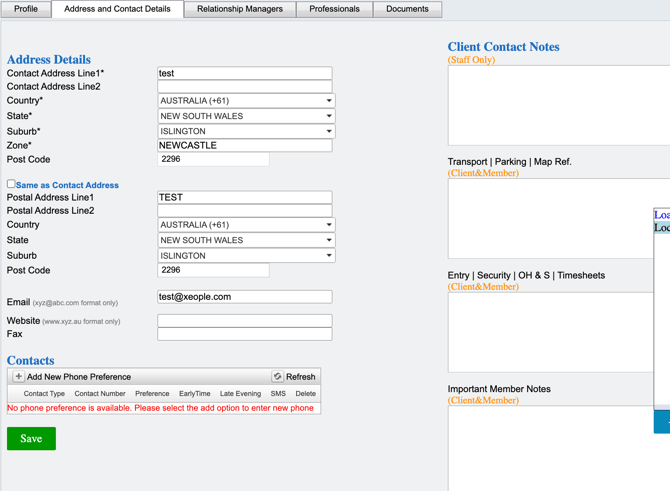
-
Reporting Office - Ensure it is the correct office for the geographical location of the client
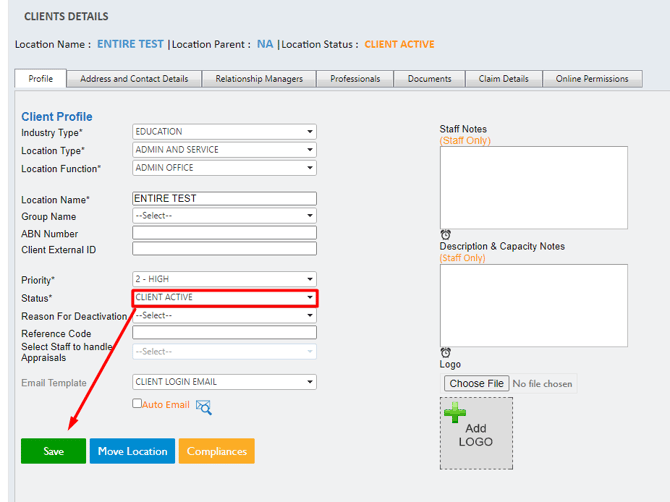
Update all mandatory fields and change the status to Client Active
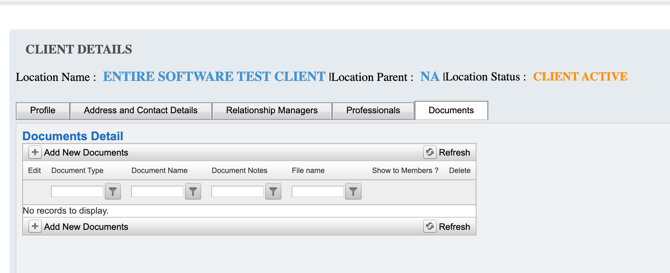
Please note: this is the basic step by step process and it is recommended to fill all profile data such as Notes, Address and Contact Details and More.
Service Location
To learn more about the client profile fields please visit:
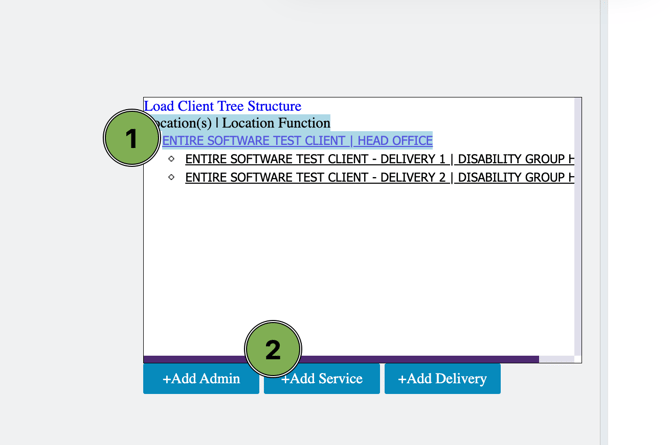
1. Select Load Client Street Structure

2. Select the Admin Location once the client tree has loaded, then Selec +Add Service
4. Enter the location name and select Duplicate Client Location in the next screen
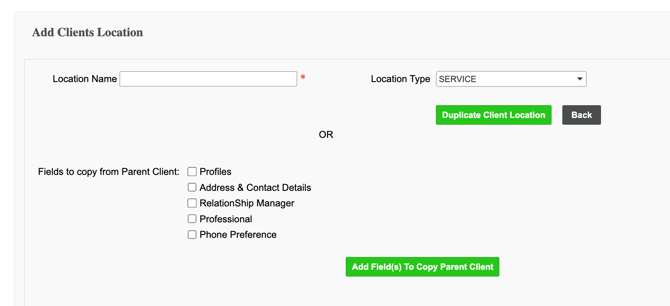
5. By Clicking duplicate client location this will copy all details form the service location and then you will need to override or update the details as required
Please note: this is the basic step by step process and it is recommended to fill all profile data such as Notes, addresses and Contact Details and More.
After you have activated the service location please activate the Admin location.
Delivery location
To learn more about the client profile fields please visit:
-
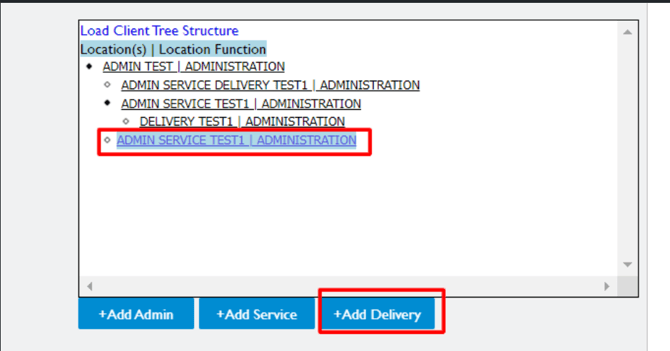
Select Load Client Street Structure
2. Select the Service Location once the client tree has loaded
3. Select +Add Delivery
4. Enter the Delivery location name and select Duplicate Client Location on the next screen

5. Update all fields to the delivery location details
-
Address and Contact Details - Especially Address, Email and Contact Number
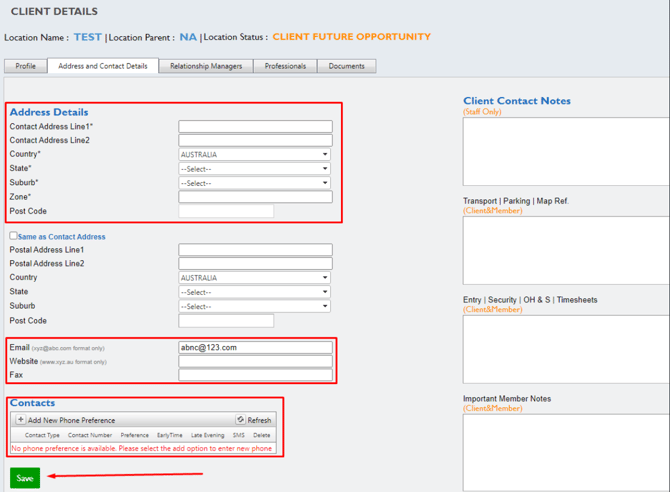
-
Reporting Office - Ensure it is the correct office for the geographical location of the client
Change the status to active and select Save once the profile has been updated.
Please note: this is the basic step by step process and it is recommended to fill in all profile data such as Notes, addresses and Contact Details