Payslips generated through the pay run process may be viewed and resent in a number of ways from within the Finance Portal. These are explained below
The most effective way is for your members to go into their banks section of their app and view payslips there
Display, Print and Save Payslips
To display, print and save, payslips may be accessed from the following menu options in the Finance Portal (depending on whether they were initially emailed or posted):
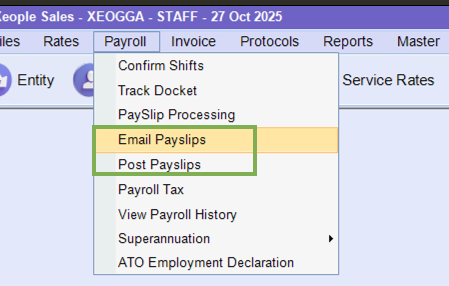
Payroll / Email Payslips OR Payroll / Post Payslips
Once the Email Payslips Screen or Post Payslips Screen is displayed, select the period ending date of the pay run, then click on the FileName hyperlink to display the payslip PDF. From here, the payslip PDF may be printed or saved. (If the Batch Status has not been set to Completed, it possible to select a payslip and send/post from these screens).
Payslips may also be accessed from the Reporting menu at:
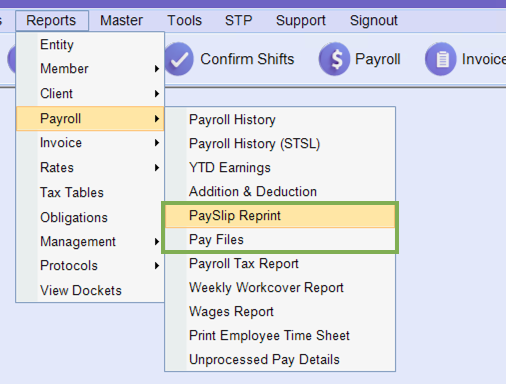
Reports / Payroll / Payslip Reprint OR Reports / Payroll / Pay Files
To Display, Print, Save and Resend Payslips
The following methods allow the user to not only display, print and save payslips but also to resend payslips directly to the member.
Via Payroll History
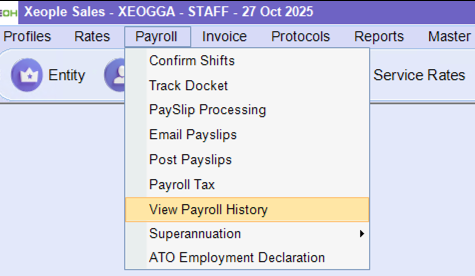
Select the ‘View Payroll History’ menu item from the Payroll menu. The Payroll History Screen will be displayed as can be seen below. A listing of the most recent pay run will default. If a different pay run is required, select the date from the ‘Period Ending Date’ drop-down list and click on the ‘Get Details” button.
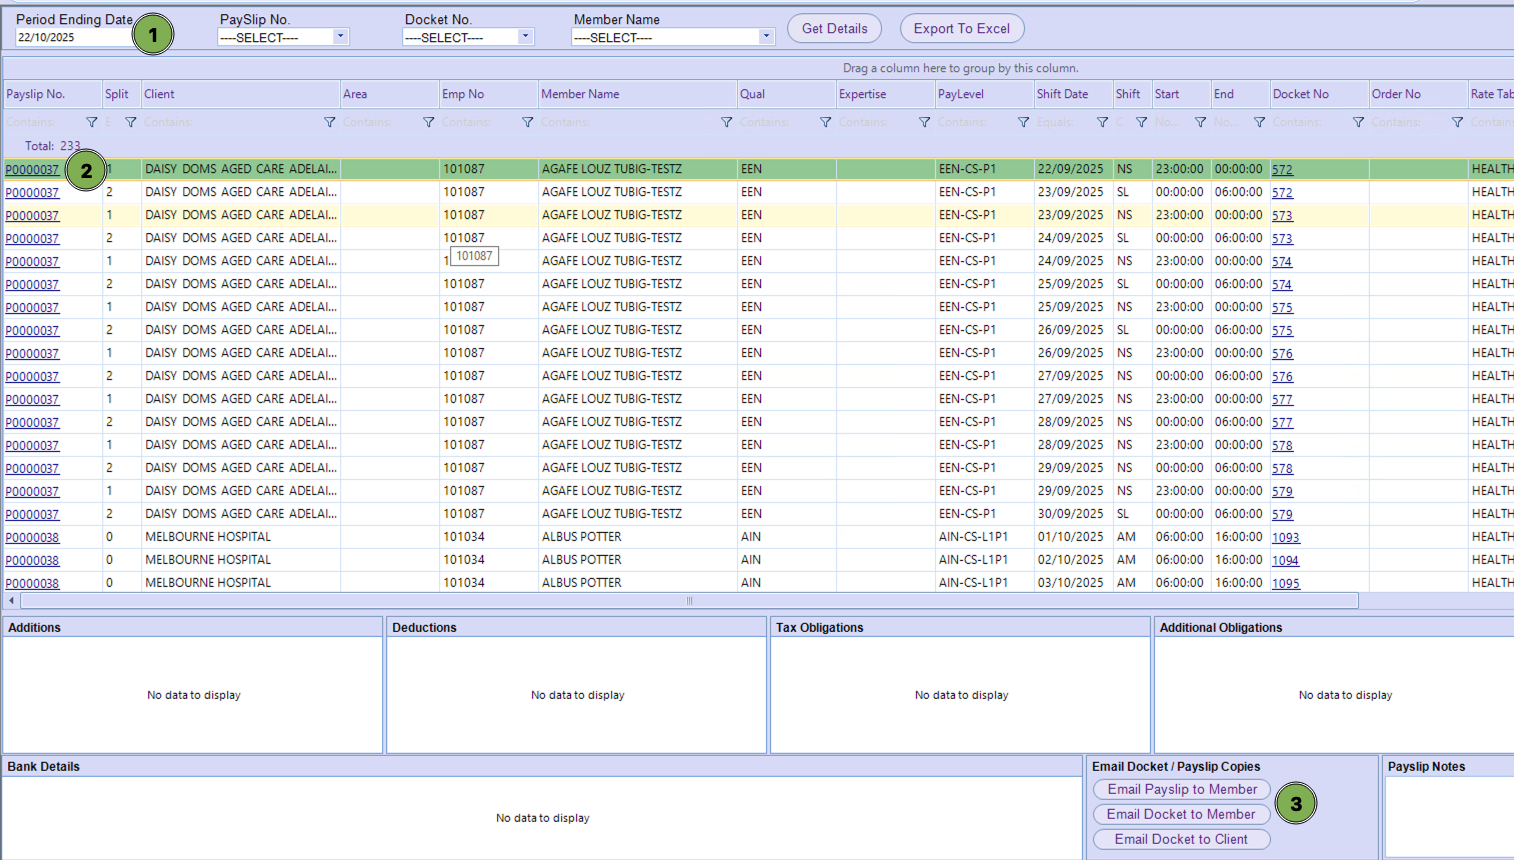
Clicking on the Payslip Number hyperlink, circled in red above, will display the payslip PDF. From here, the payslip may be printed or saved.
If the user wishes to resend the payslip to the member, click on the relevant row to highlight it, then click on
the blue ‘Email Payslip to Member’ button.
If a timesheet image has been uploaded, or an electronic timesheet has been generated, then these may also be emailed to the member or client, using the red and grey buttons.
Via the Member Record
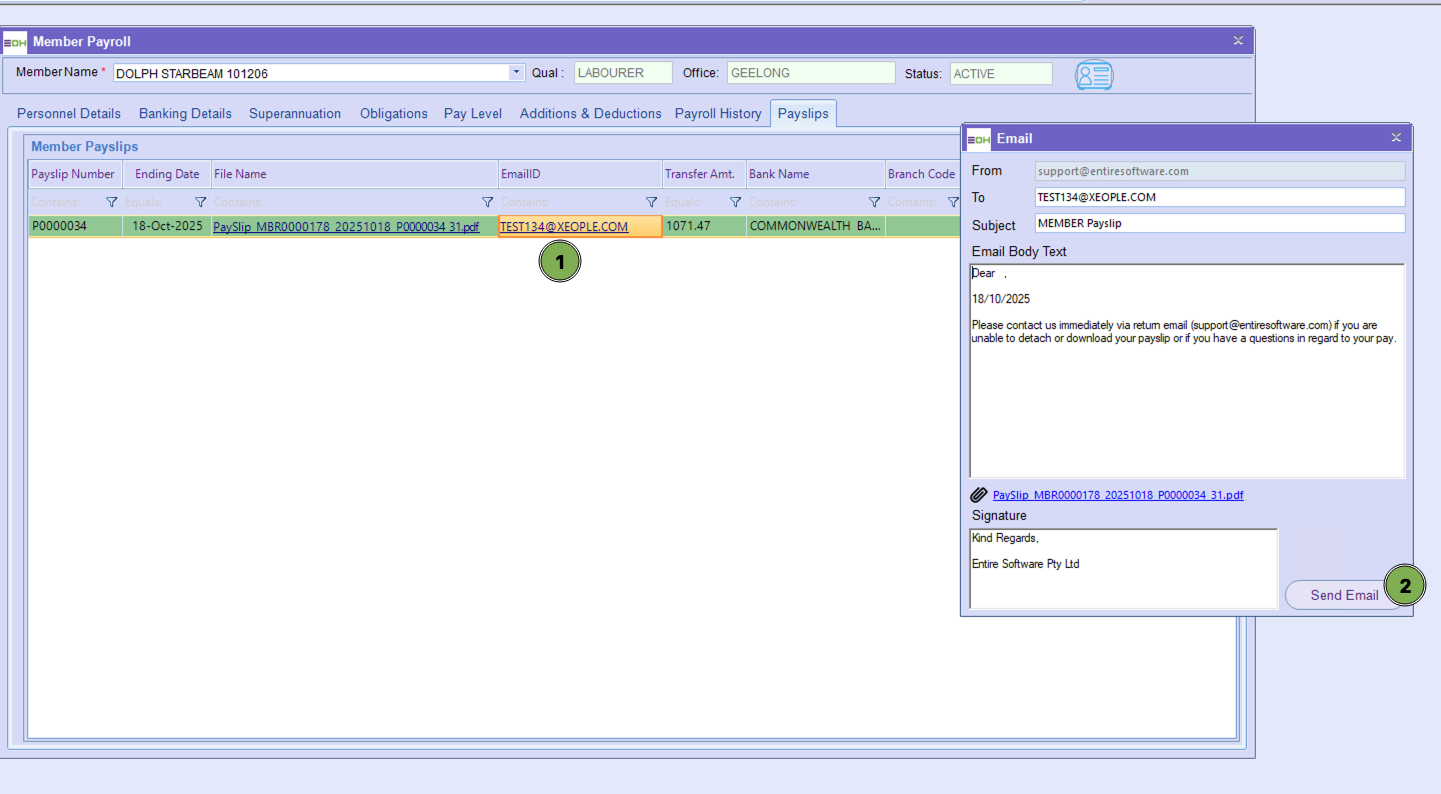
Select the ‘Members’ menu item from the Profiles menu, or click on the ‘Members’ button in the toolbar. The Member Record Screen will be displayed. Select the member from the ‘Member Name’ drop-down list and then click on the Payslips tab. A listing of all of the member’s payslips will be displayed, as can be seen below.
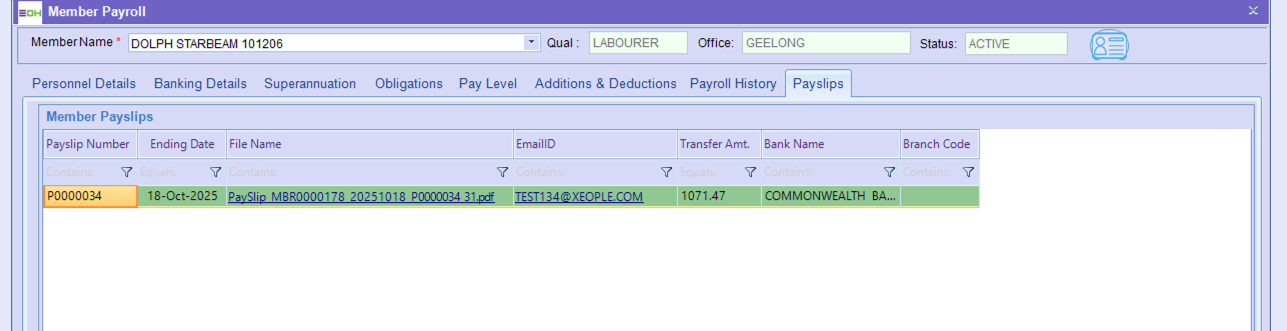
Clicking on the File Name hyperlink will display a PDF of the payslip. From there, the payslip may be printed or saved. Clicking on the email address of the member, circled in red above, will display an Email pop-up screen as can be seen below. The pop-up screen defaults the member’s email address and email text. The relevant payslip is already attached and the email can be easily resent by clicking the ‘Send Email’ button.