

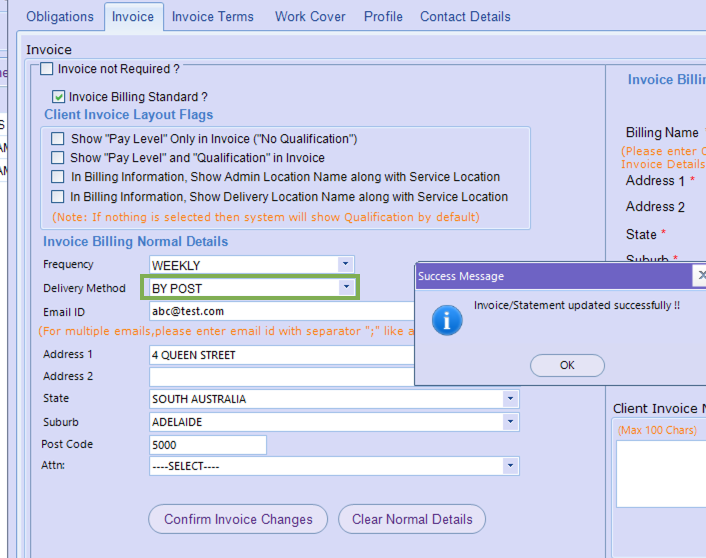
Now that the invoice run is complete, invoices need to be sent to clients. Clients can receive their invoices in three ways, via email, post or FTP (file transfer protocol). The way in which the client receives their invoice is defined on the Client Record. While there are three methods, most clients receive their invoices by email or by post.
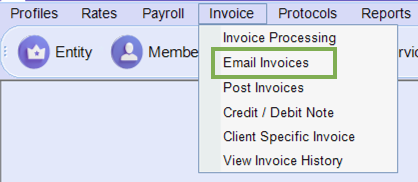
- Click on the ‘Email Invoices’ menu item from the Invoice menu.
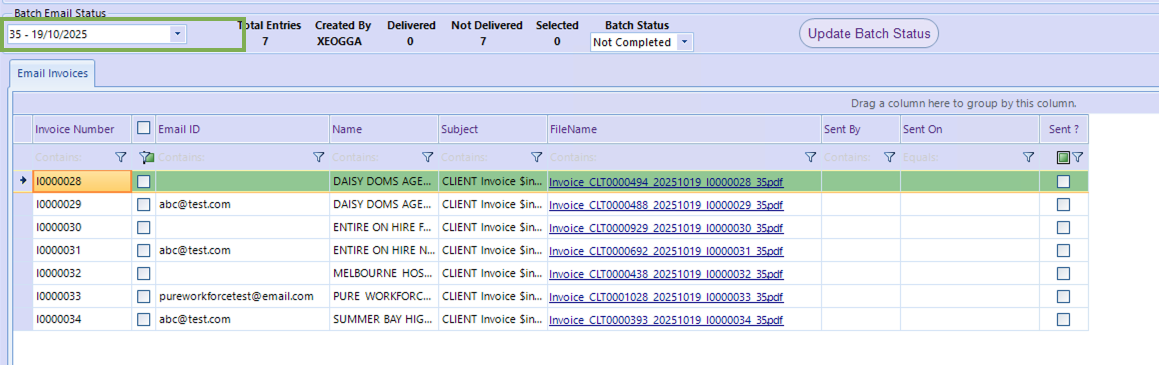
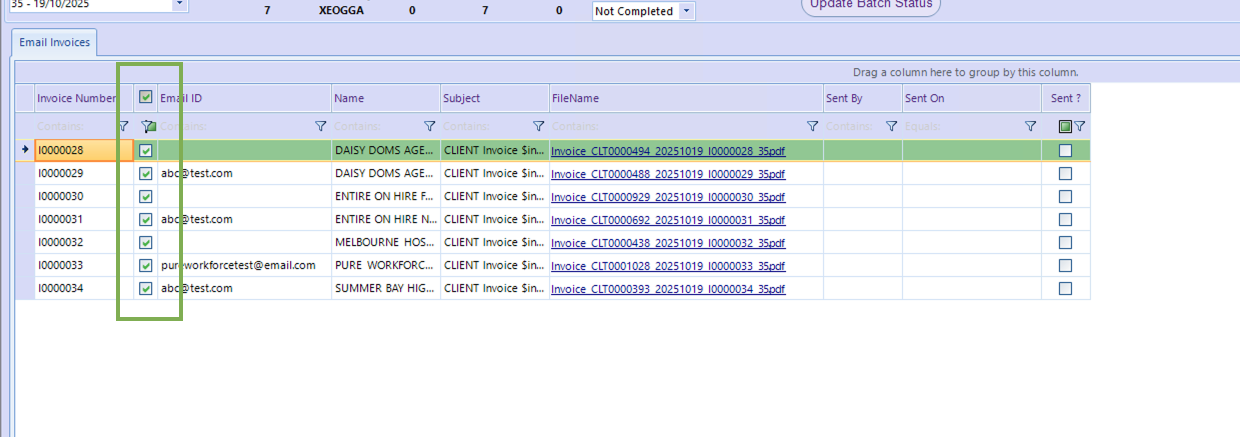
- Select the relevant invoice run from the drop down list by selecting the period ending date, as shown circled in red. The clients who have elected to receive invoices via email will be listed.
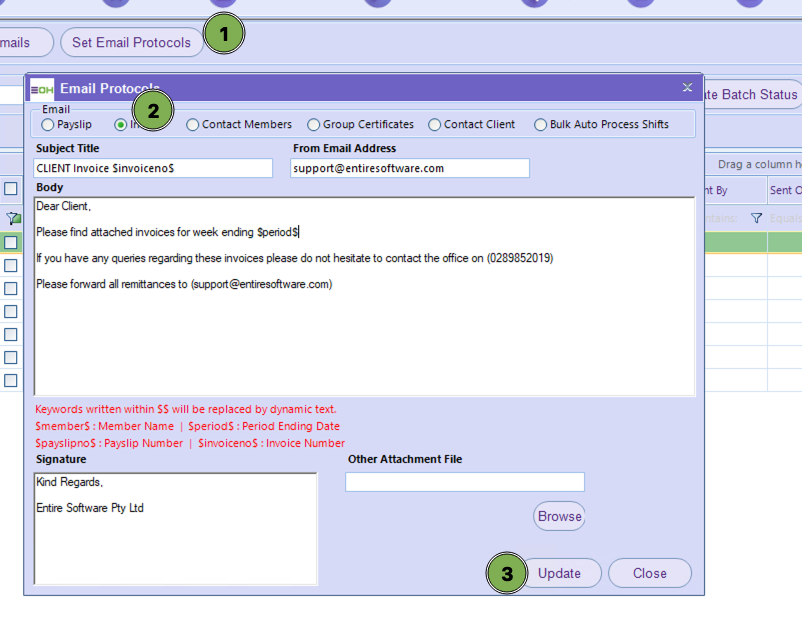
- Click on the ‘Set Email Protocols’ button to display the Email Protocols Screen, as displayed below. The Screen will default to displaying payslip text, so click on the ‘Invoice’ radio button. This shows the text that is displayed on every email that accompanies the invoices that are sent out. Use this screen to confirm that the email subject line and body text have been correctly set up. Update if necessary and click the ‘Update’ button. Once the text has been confirmed or updated, click on the ‘Close’ button.
- Individual invoices may be selectively sent by checking the checkbox next to the invoice number. If all invoices are to be sent, click on the checkbox in the header which will check all checkboxes.
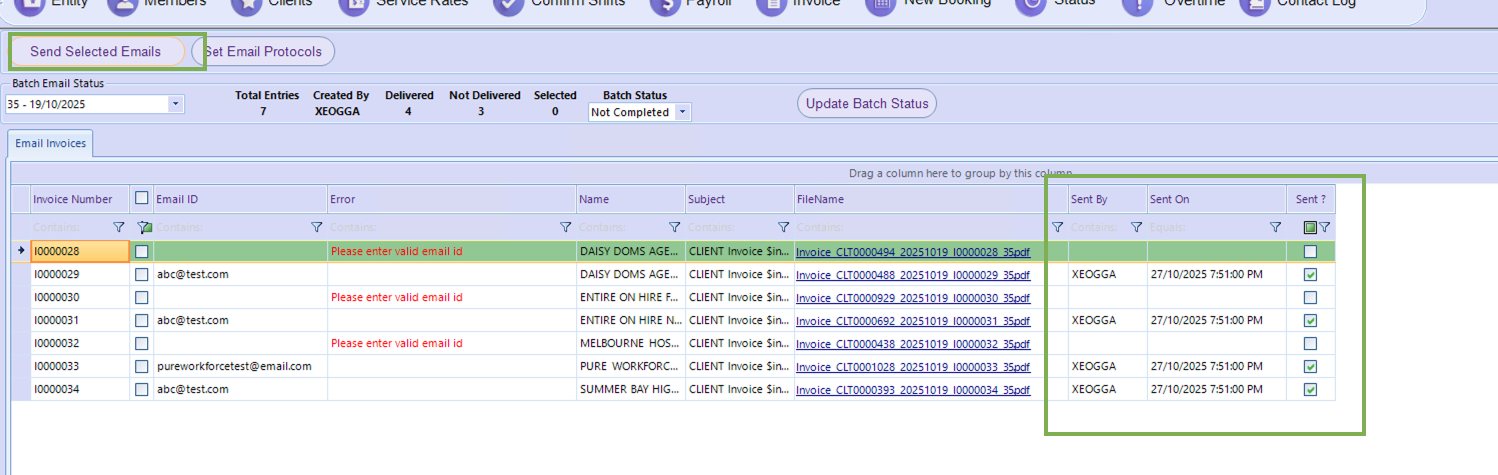
- Click on the ‘Send Selected Emails’ button to send the emails with attached invoices. The ‘Sent By’, ‘Sent On’ and ‘Sent?’ columns will then be populated to record that the emails have been sent.
Posting Invoices
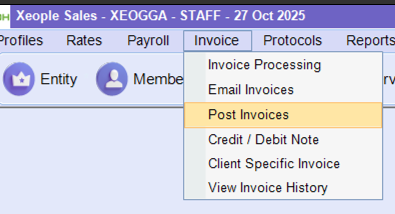
- Click on the ‘Post Invoices’ menu item from the Invoice menu.
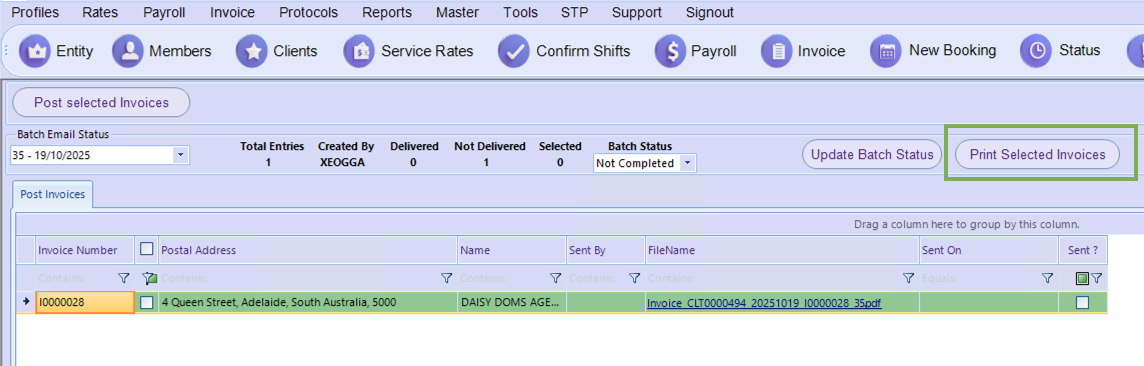
- Select the relevant invoice run from the drop-down list by selecting the period ending date, as shown circled in red. The clients who have elected to receive invoices via post will be listed. If no records are displayed, this indicates that all clients in the invoice run have opted for invoices by email.
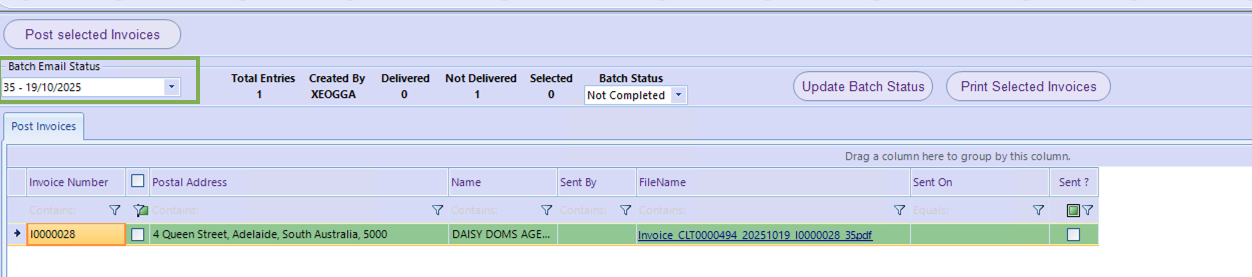
- Individual invoices may be selectively sent by checking the checkbox next to the invoice number. If all invoices are to be sent, click on the checkbox in the header which will check all checkboxes.

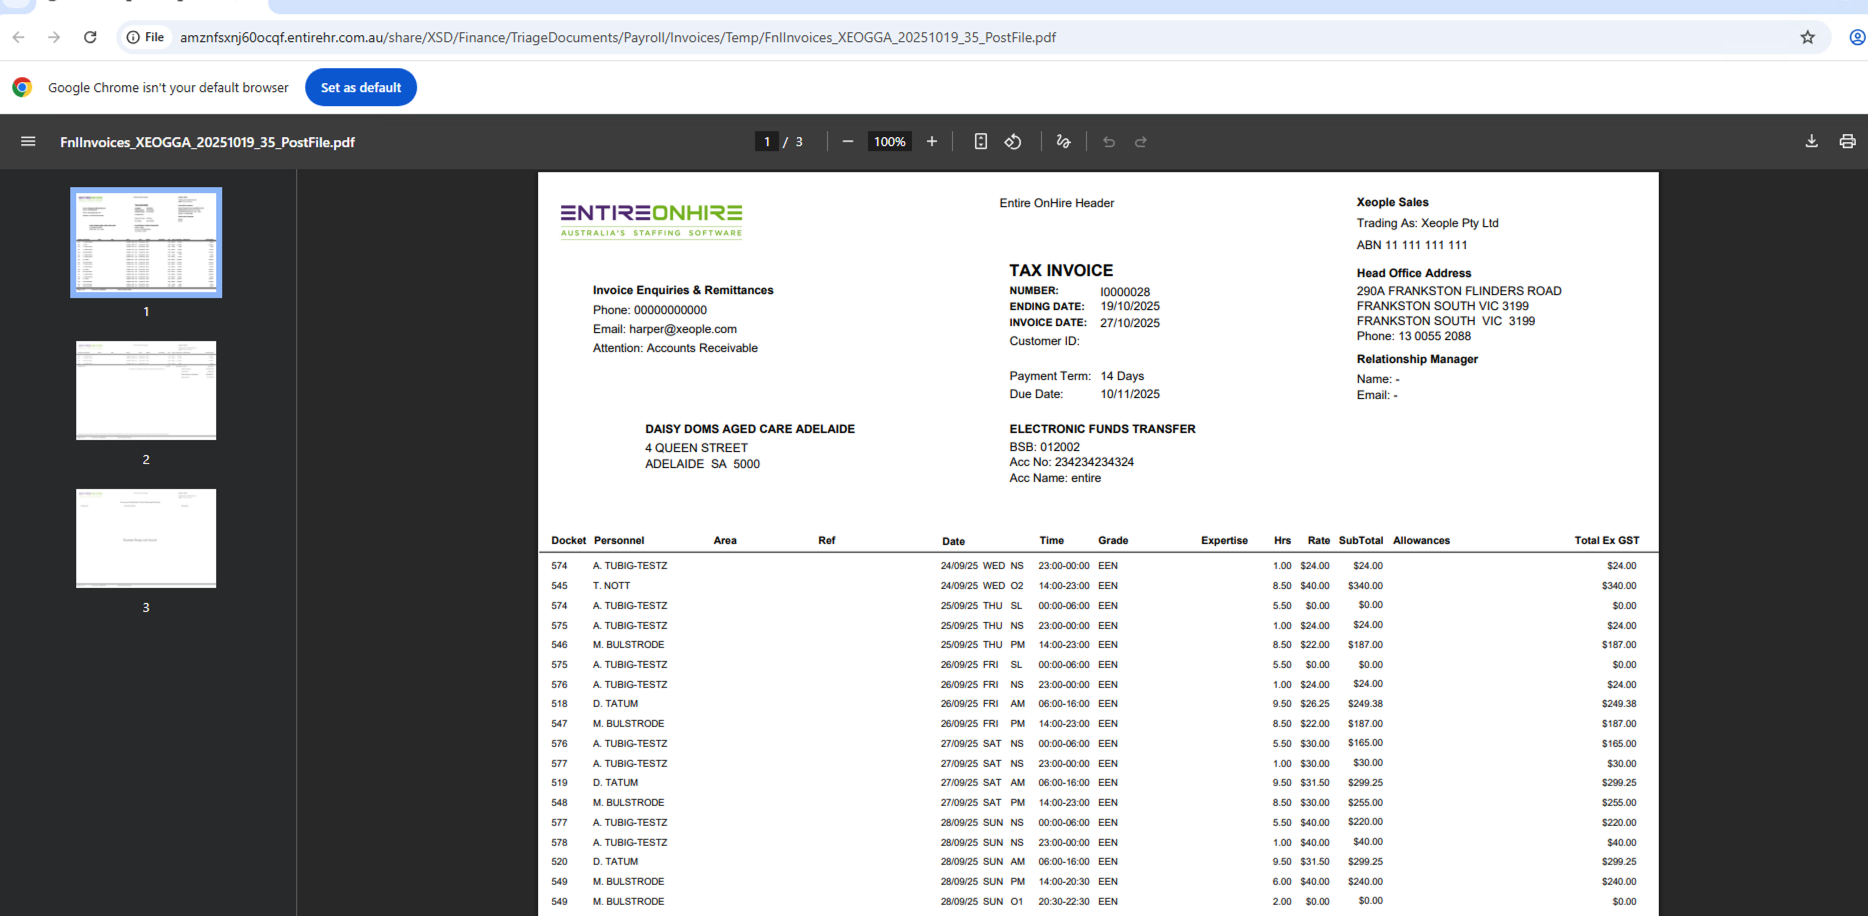
- Click on the ‘Print Selected Invoices’ button and the invoices will be displayed in PDF format. From here, the user may save or print the PDF. Then close the PDF.
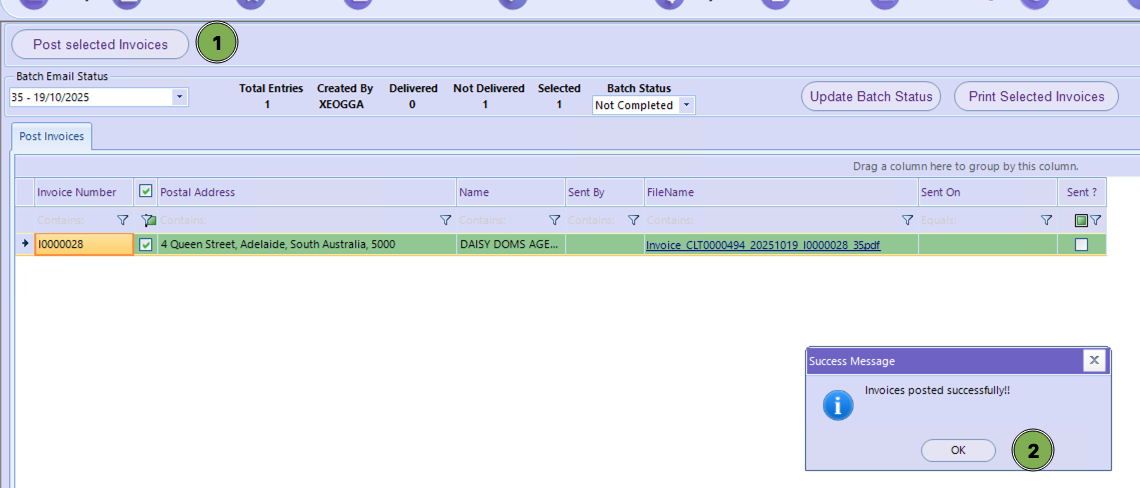
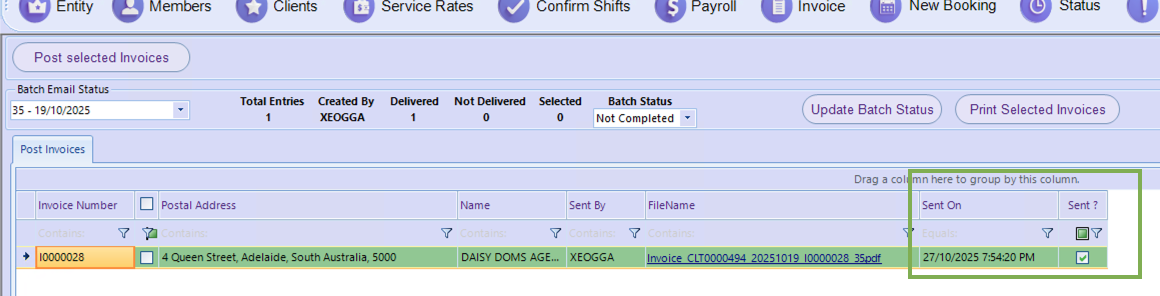
- Click on the ‘Post Selected Invoices’ button. A confirmation message is displayed. Click OK. The ‘Sent On’ and ‘Sent?’ columns will then be populated to record that the invoices have been posted, and the date/time they were posted.
The invoice run has been successfully completed, and all invoices have been sent to clients using their preferred delivery methods. Invoices are now available for internal staff through the Finance Portal, for clients via the Client Portal, and for professionals within the Professionals App. Full invoice run details can also be reviewed using Entire OnHire’s reporting features.