
Before you begin, you will need to create new rate table names for all your new tables.
For example, You have an existing rate table Entire July 2023 but you need to increase the rates across the board so you will need a new rate table named Entire July 2024
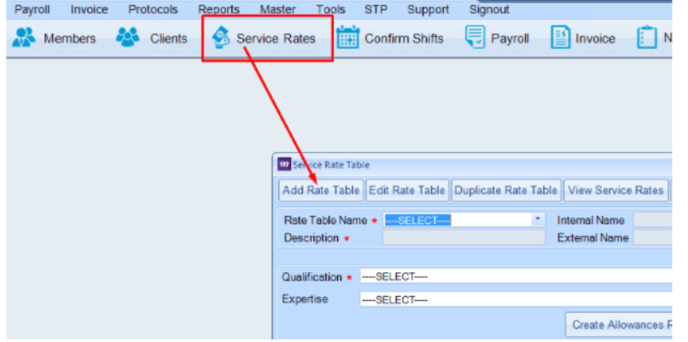
This is done by accessing the Service Rates menu and then Add Rate Table
When the Add New Rate Table screen appears, type the Name of your new rate table in the Name field. You will notice that as you do this, the same name is appearing in the Internal Name and External name fields. The code field will be left blank however you will need to copy and paste the rate table name into this field also.
You also need to nominate an Effective Date. This date is very important as it signifies the first day of shifts that you want the new rates to be applied to. We have used 1st July in the example below:
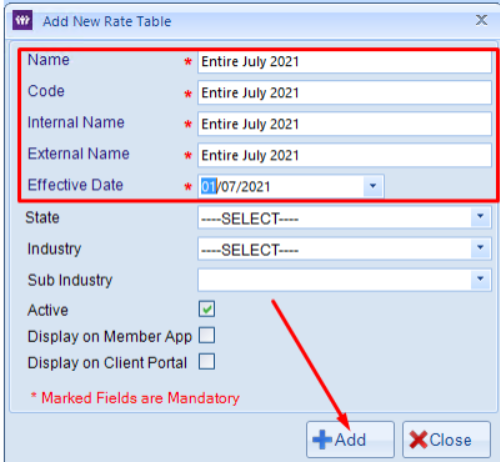
The fields shown above are mandatory fields and must be completed. Once you have all of the mandatory fields completed, please select the + Add button.
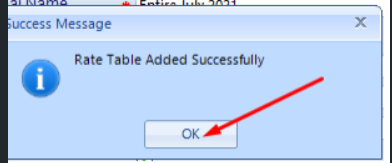
You will receive a success message, please select OK to proceed.
Once you have all of your new rate tables added in, you can then go ahead and copy the rates from the old rate table ( Entire July 2023 ) to the new rate table ( Entire July 2024 ).
This is done by using the Copy Rate Table function.

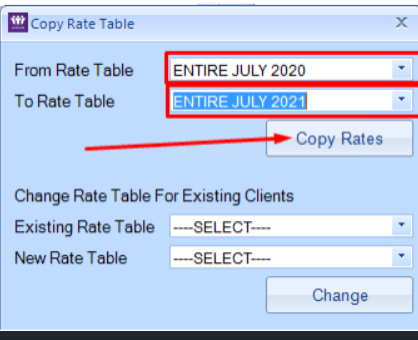
When the Copy Rate Table menu appears, please enter the name of the previous rate table ( Entire July 2023 ) in the From Rate Table field and then enter the name of the new rate table ( Entire July 2024 ) in the To Rate Table field.
Once you have the form and to fields completed, select Copy Rates
You will receive a success message, please select OK to proceed
Once you have copied all your old rates to your new rate tables, you can go ahead and export these tables to an excel file so you can make the necessary rate adjustments.
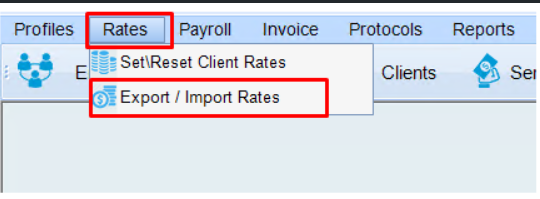
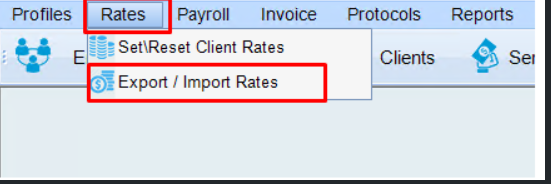
To do the export, you will need to access the Rates menu and then select Export / Import Rates
When the Export/Import Rates Window appears, you can select individual tables to export by entering the name of it in the selection field or, if you want to export all of your rate tables, you can leave this field blank.
Once you have your export preference set ( single or all ), please select the Export Rates button.

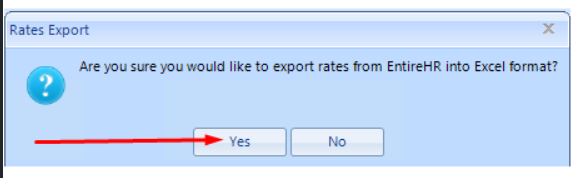
You will receive a confirmation message, please select Yes to proceed.
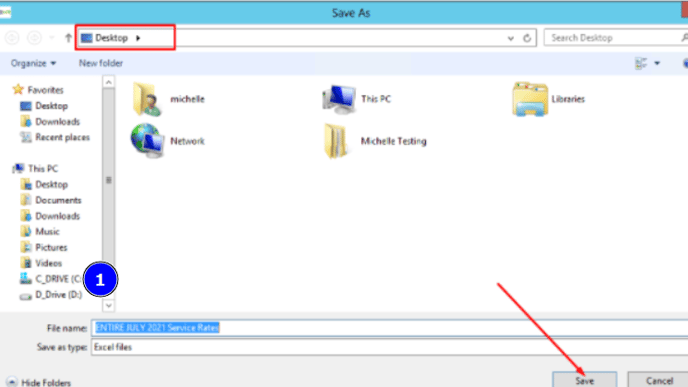
You will be asked to choose a destination to save the export file. The default is Desktop, it is our recommendation that you stay with the default.
Once you have chosen your destination, please select Save.
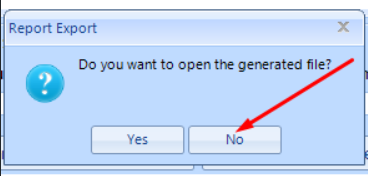
You will be asked if you want to open the Generated file, our recommendation is No because you can’t do anything but view it at this step.
Locate the file and then open it.
It is very important that you don’t change the formatting in any way. If you make any change to formatting, the file will not import properly.
If you want to make a percentage change across the board, we recommend that you make use of the multiply paste special function.
To do this:
-
Type 1.025 ( for a 2.5% increase ) in a cell outside of the rate table
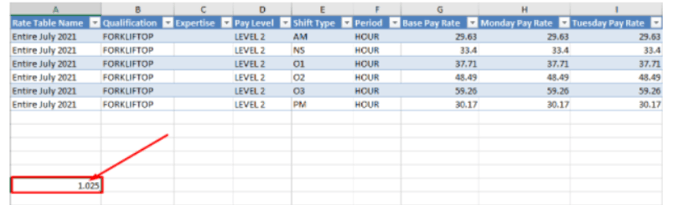
-
Copy ( CTRLC ) this cell and then highlight all of the cells that you wish to apply this percentage change to
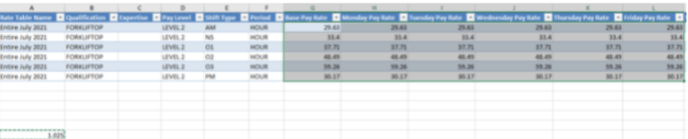
-
Then press CTRL – ALT- V
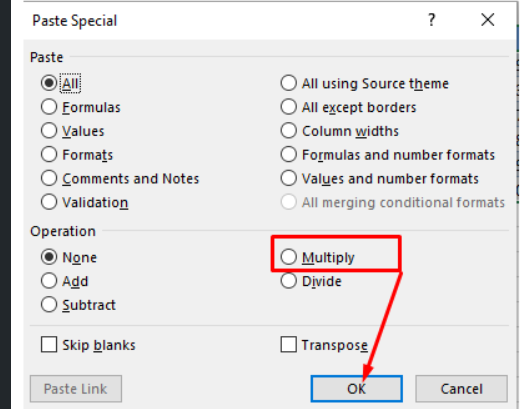
When the Paste Special menu appears, select multiply and then OK
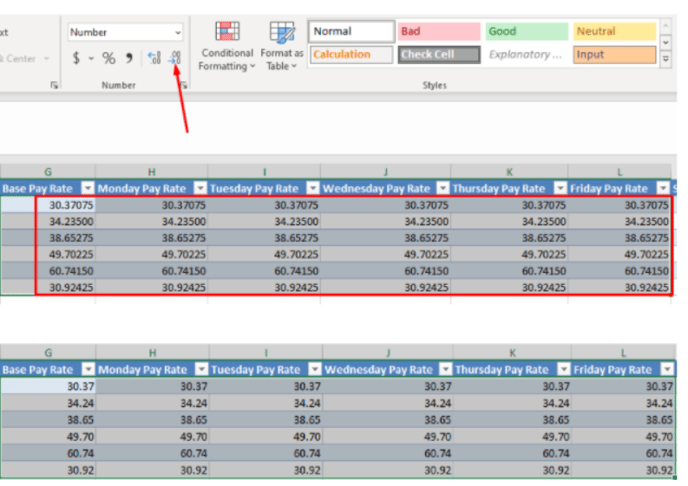
If the values come into your spreadsheet with more than two decimal places, you can use the decimal point shift function of excel to round them.
Once you have multiplied all your selected rates, please remove the 1.025 you typed into a cell and then save your file.
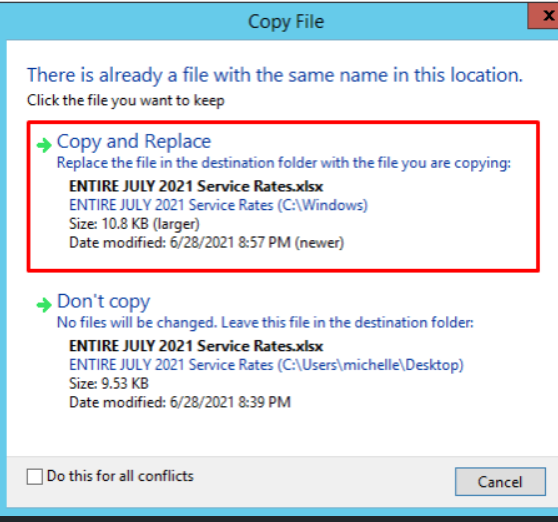
Copy your saved file back to your finance desktop.
Entire will recognize that there is a file with that name already on the desktop so please choose the Copy and Replace option.
Once you have the adjusted file on your desktop, go back to your Entire finance application, select Rates, Export / Import Rates again.
Select the Import Rates button

The screen will automatically open to your finance server desktop, select your adjusted file and then select Open
If the rates have been successfully imported, you will see this message on the screen

If they have not imported successfully, you will receive an error file which sets out where the errors are.
How to attach new rate tables to clients
Once you have all of your new rate tables imported, you will need to attach them to the relevant clients.
This can be done in bulk rather than going into each individual client record to change the rate table.

When the Copy Rate Table screen appears, move to the Change Rate Table for Existing Clients fields
Enter the old rate table name ( Entire July 2023 ) in the Existing Rate Table field and then enter the new rate table name ( Entire July 2024) in the New Rate Table field.
Once you have both rate table names entered correctly, select the Change button

You will receive a success message, select OK to proceed.

This function then changes all clients who had Entire July 2023 attached to them over to the Entire July 2024 rate table.