
To upload a document against a location please follow the below steps.
Step 1 - Create the default category and document type
-
Under the client bubble, search for the client and access the profile.


2. Select the Documents tab
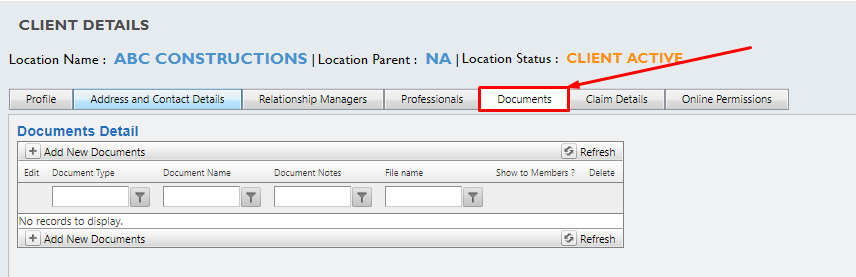
3. Select Add New documents

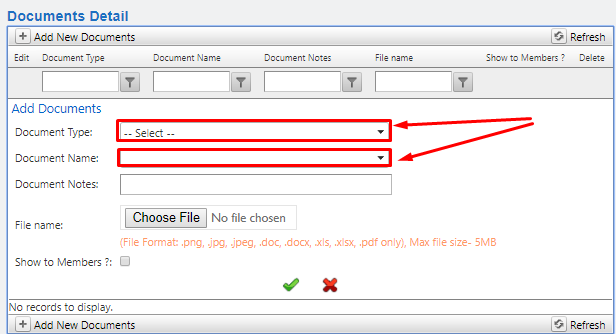
4. Select the Document Type, and Name from the dropdown lists
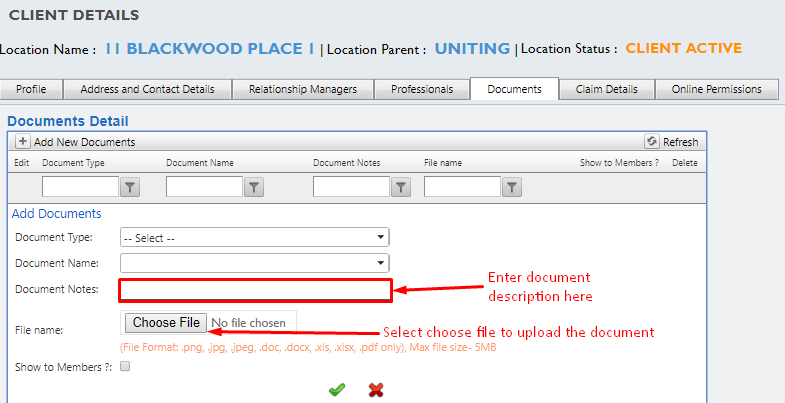
5. Enter document notes and select chosen file from your computers file explorer
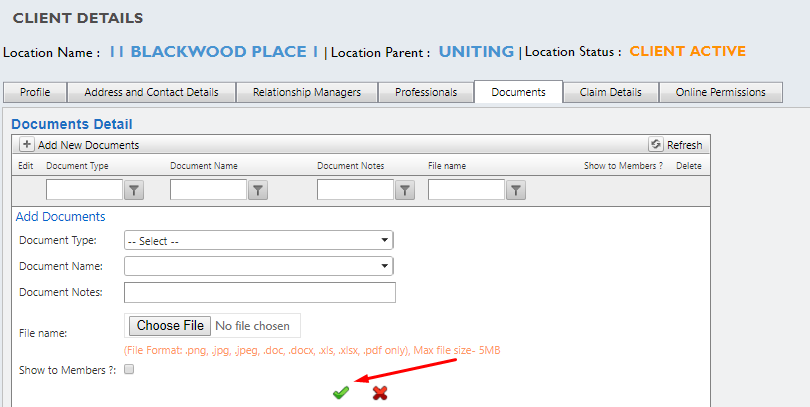
6. If you are wanting the document to be visible to members via the app & portal you need to tick the Show to Members box

7. Lastly, press the green tick to save the documents
To show the Location documents, the settings have to be enabled in the Online Permissions tab as shown in the screenshot below.
-png.png?width=688&height=621&name=image-20220322-231446%20(1)-png.png)
In the members app, documents are shown under the following icons when they are selected on a shift
-png.png?width=688&height=236&name=image-20220322-231848%20(1)-png.png)